
Beekeeping is an incredibly rewarding hobby, but it comes with its fair share of maintenance. One of the most important maintenance tasks is ensuring your equipment is clean and sterilised to protect the health of your bees and extend the lifespan of your gear.
In this guide, we will walk you through the best practices for looking after your beekeeping equipment, covering everything from beehive cleaning to how to store your equipment properly.
Why do beehives need cleaning?

Beekeeping equipment accumulates excess wax, honey, propolis, and pests over time, which can harm your colony. If not cleaned, these buildups may lead to bacterial infections, mould, or attract pests like wax moths and small hive beetles. Regular cleaning is crucial to prevent the spread of diseases, such as foulbrood, that can easily transfer between colonies via contaminated equipment.
In addition to health concerns, unclean equipment may not function as efficiently. For instance, hardened propolis can cause frames to stick, making them difficult to remove, while a buildup of soot in smokers can reduce their effectiveness, making it harder to manage your bees during hive inspections.
When to Clean Your Beekeeping Equipment
The timing of when you clean your equipment is critical for maintaining healthy hives and ensuring the longevity of your tools. The ideal times to clean your equipment are:
After Honey Extraction:
Once you have harvested honey from your hives, there will be wax, propolis, and honey residue on your frames and tools. Cleaning at this stage prevents contamination in future seasons and helps maintain the quality of your equipment.
Before Winter Storage:
As your bees settle in for winter, this is a good time to clean and prepare your equipment for storage. Not only does this prevent mould and mildew from forming during the offseason, but it also ensures that any diseases or pests don’t have a chance to nest in your equipment over winter.
Before Introducing New Colonies:
If you’re planning to reuse old equipment for a new colony, thorough cleaning is essential. This prevents the spread of any residual bacteria or pests from a previous colony that could harm your new bees.
How to Prepare Your Beehive for Cleaning
Before jumping into the actual cleaning, some preparation is required. This includes removing any remaining honey, wax, or brood comb that may still be inside the hive. While cleaning, it’s essential to know what can be saved and reused, and what should be discarded.
Honey:
Honey is a valuable resource, and if you find some left inside the hive, it’s generally safe to keep as long as it hasn’t fermented or been contaminated. To check its quality, look for signs of fermentation such as bubbles or a sour smell, which indicate the honey is no longer usable.
Wax:
Beeswax is another valuable byproduct of beekeeping, widely used in various natural products such as candles, soaps, lip balms, and more. When cleaning the hive, it’s essential to assess the condition of the wax. Healthy, clean wax can be carefully removed, melted down, and repurposed.
Brood comb:
The brood comb is an essential part of the hive, providing a place for the queen to lay eggs and for bees to rear their young. However, after multiple cycles of use, brood comb becomes darkened and brittle, which is often the best time to discard them and allow your bees to build fresh comb. Fresh comb is light in colour and more hygienic, offering a safer environment for raising brood.
How to Clean And Sterilise Beehive Frames and Wooden Hives

Cleaning and sterilising wooden hives and frames is an essential part of hive maintenance. Over time, these components accumulate wax, propolis, harmful pathogens, and sometimes even mould. Here’s a step-by-step guide to cleaning them safely and effectively:
Scrape the frames and hive bodies: Using a hive tool, scrape off excess propolis, wax, and any debris from the frames and hive boxes. Be thorough, especially in the corners and crevices where debris can accumulate.
Wash with soapy water: After scraping, you can wash the wooden parts of the hive with warm, soapy water to remove any remaining residues. Be sure to rinse thoroughly to avoid leaving soap residue, which could harm the bees when they return.
The boiling water method: For deeper cleaning, you can soak the frames and hive bodies in boiling water. This not only loosens stubborn debris but also helps to kill any pathogens or pests that may be present. The water should be at least 140°F (60°C) to ensure effective sterilisation.
The blowtorch method: Using a blowtorch is a highly effective way to sterilise wooden components. Carefully run the flame over the surface of the wood, ensuring an even pass without lingering too long in one area to avoid scorching the wood. This method kills any bacteria, spores, or parasites that might be hiding in cracks or joints.
Use washing Soda: Washing soda, also known as sodium carbonate, is a simple and effective way to sterilise beekeeping equipment. It works well for wooden hive parts that can’t tolerate high heat. To use, mix a solution of 1 part washing soda to 5 parts water. Soak the hive parts for several hours to loosen wax, propolis, and bacteria. After soaking, scrub thoroughly with a stiff brush and rinse with clean water.
Use a bleach solution: A bleach solution is effective for cleaning non-wooden parts of your beekeeping equipment, like hive tools and plastic frames. The equipment should be soaked in a 10% bleach solution, and left for 10-15 minutes. Rinse thoroughly with water to remove any residual bleach, as this is toxic to bees if left on the equipment.
Steam clean: Another effective method for sterilising is using a steam cleaner. This both melts the wax out of the frames, and cleans the frames and internal timber boxes. The high heat will kill off bacteria, mould spores, and pests. This method is particularly useful for plastic hives and tools that cannot withstand the heat of a blowtorch or boiling water.
Protecting and Maintaining Wooden Hives

After cleaning, it’s important to protect wooden hives from the elements to extend their lifespan. Here are some steps to take:
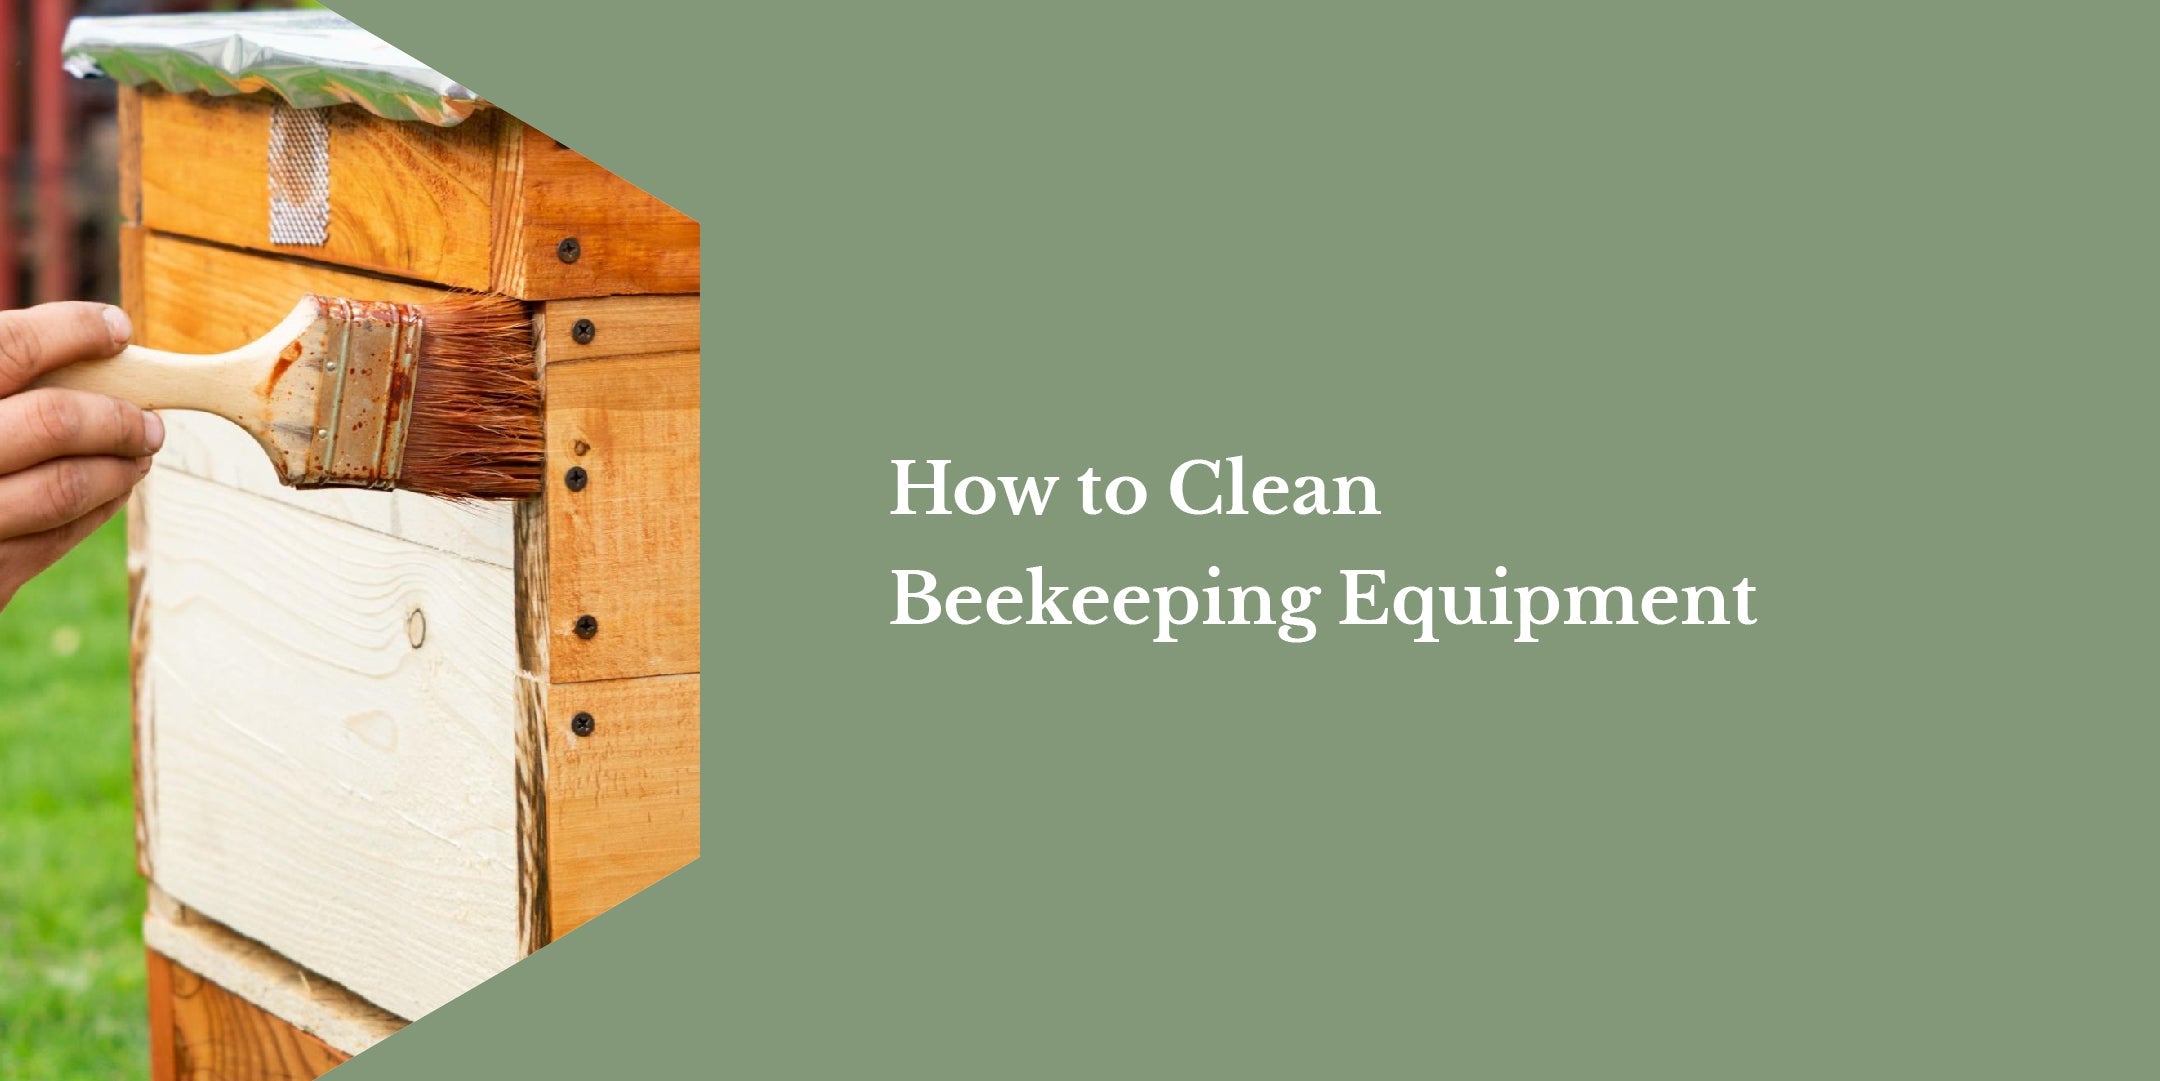
Painting or staining: Wooden hives are susceptible to damage from weather, especially moisture. After cleaning, inspect the hive for any cracks or damage. If necessary, apply a fresh coat of exterior-grade, bee-safe paint or stain. Choose a light colour, as darker colours can cause the hive to overheat in the summer months.
Replacing damaged parts: If you find significant damage, such as rotted wood or broken corners, it may be time to replace those parts. Keeping your equipment in top shape is vital for ensuring your bees have a safe and comfortable home.
How to Clean Hive Tools and Smokers

Aside from hives and frames, your tools also need regular maintenance and cleaning:
Hive tools: Scrape off any wax and propolis after each use with another hive tool or knife. To disinfect, soak them in a bleach solution or boil them for a few minutes to kill any bacteria.
Smokers: The inside of your smoker can become clogged with soot and tar, which can affect its efficiency. Disassemble the smoker and scrub the interior with a wire brush. For tougher buildup, soak the parts in warm, soapy water before scrubbing.
Cleaning Beekeeping Clothing

Bee suits, gloves, and veils are just as important to clean as your hive equipment. Here’s how to properly care for them:
Bee Suit and Veil: Most bee suits are machine-washable, but it’s always a good idea to check the label for specific instructions. Wash your suit after each heavy use, using mild detergent and cold water. Avoid using fabric softeners, as their scent can attract bees. Hang up to dry in a shaded area to prevent fabric damage. Be sure to remove the veil before washing, as it typically can’t be machine-washed but instead requires hand washing.
Gloves: Leather gloves can be wiped down with a damp cloth, while fabric gloves should be machine-washed. Be sure to inspect your gloves regularly for wear and tear, as worn gloves can leave your hands vulnerable to stings.
How to Store Beekeeping Equipment
Proper storage of your equipment is essential for keeping it in good condition during the offseason. Here’s how to store each piece of equipment:
Beehive bodies and frames: Clean and dry your hive bodies and frames before stacking them loosely in a cool, dry area. Avoid storing them directly on the ground to prevent moisture buildup. You can also add mothballs or pest repellents around the storage area to deter wax moths and rodents.
Hive tools and smokers: Once your tools are clean and dry, store them in a toolbox or a dedicated storage area. Keeping them dry prevents rust, while a well-organised storage system ensures you can quickly access what you need.
Beekeeping clothing: Store your bee suits, veils, and gloves in a cool, dry place, ideally hung up to avoid wrinkles or moisture buildup. This also prevents odours from developing in the fabric, making it more pleasant for future use.
Summary
A clean setup is vital for your bees' health and the longevity of your equipment. Regular cleaning and proper storage of hives, tools, and clothing will help prevent disease and keep everything in top condition. Whether you’re sterilising wooden frames or washing your bee suit, these best practices will keep your beekeeping operation running smoothly year after year.
For easy-to-maintain, high-quality beekeeping gear, check out the Hiveology beehives and bee suit — we’ve got everything you need to keep your bees thriving.